How to Navigate Paris Metro and RER Like a Local
I spent my first Paris trip lost because I was thinking in compass directions instead of line colors. Once I stopped trying to map the underground system to street geography, the whole network clicked.
Parisians don’t memorize every street corner—they rely on line numbers, colors, and terminal station names. Those three pieces of information appear on every platform sign, every station map, and every corridor junction. They’re repeated so often you’ll start ignoring everything else.
This guide shows you the same system locals use. Whether you’re crossing central Paris or heading to Versailles, the logic stays the same: identify your line, follow the terminal station name, and keep your ticket until you’re above ground.
Understanding the Metro vs RER: What Each System Does Best
The Paris Metro serves inner Paris with numbered, color-coded lines. Lines 1 through 14 connect neighborhoods, museums, restaurants, and hotels. Line 1 runs east-west and handles the bulk of tourist movement—expect crowds during midday.
The RER extends beyond central Paris to the wider Île-de-France region, including airports and suburban destinations.
Choose Metro for central Paris trips. Use RER for longer regional journeys, airport connections, and outer attractions. The Paris transport network includes the RER, which serves both Paris and the wider region beyond the city center, meaning you’ll likely use it for destinations like Versailles or Charles de Gaulle Airport.
The two systems often share stations in central Paris. You can board an RER at a central station and switch to Metro without exiting—no re-validation needed. Understanding when to use each comes down to consulting a network map and identifying whether your destination falls within Metro coverage or requires the RER’s longer reach.
The Line-Number-and-Terminal System: How Parisians Actually Navigate
Paris Metro lines are numbered 1 through 14 and color-coded. You don’t need to understand Paris’s street layout—just match the color on the sign to the line number on your phone.
Follow the terminal station name—ignore compass directions entirely. You’ll see “Direction La Défense” or “Direction Château de Vincennes” on signs. Metro direction signs indicate the final station on that branch, so you follow the end-of-line name to choose the correct train.
Write down three things before traveling: your origin station, destination station, and the terminal name of your line. Keep this information accessible on your phone or a piece of paper. Navigation relies on line numbers and terminal names, not on memorizing Paris street geography.
Always check both the line color AND the terminal name on direction signs—following one alone will send you the wrong direction.
For a detailed explanation of this terminal-based direction system, Rick Steves’ Metro guide offers practical examples from a traveler’s perspective.
Making Transfers: Following Correspondence Signs Through Stations
Follow the blue correspondence signs between lines—you don’t exit or validate a new ticket. Stay underground. Transfers within the Metro are made by following correspondence signs and can be done without leaving the station network when lines intersect.
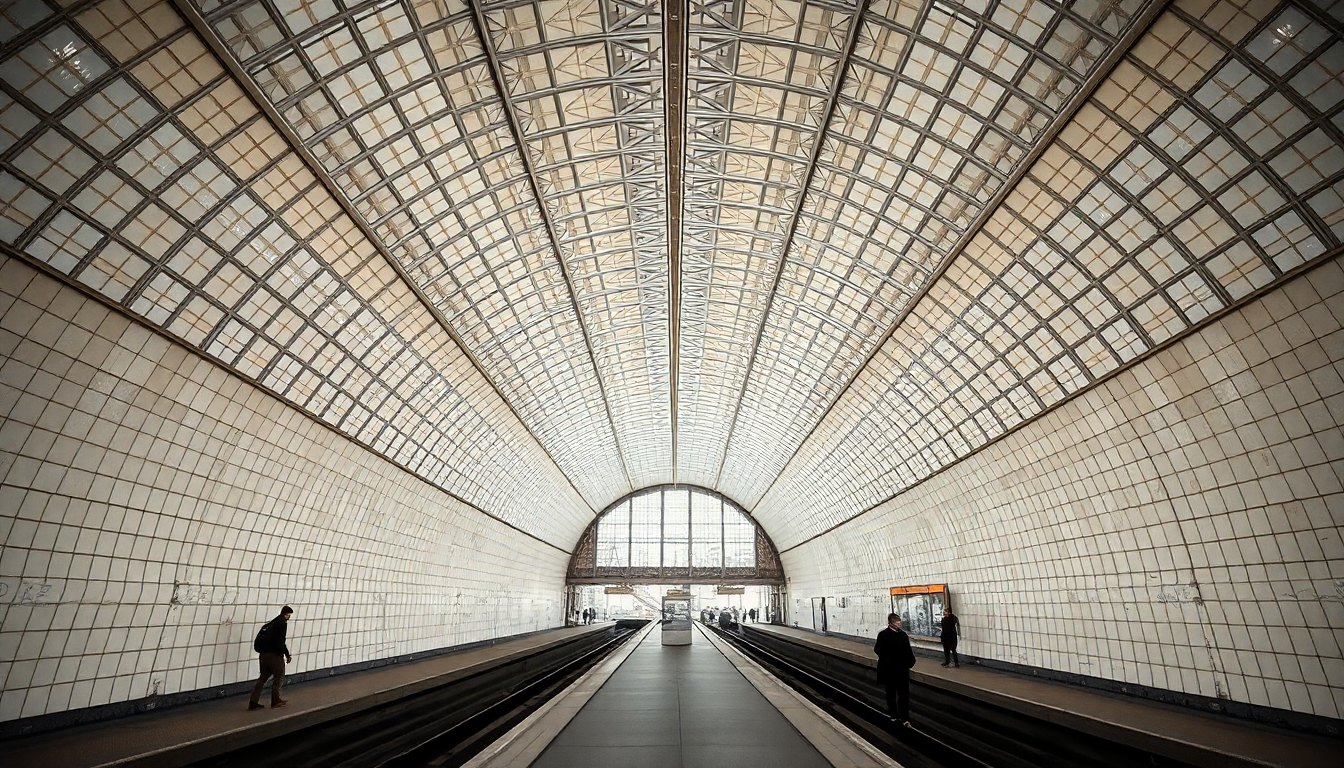
Châtelet-Les Halles is a maze—honestly, if you can plan a route that avoids it on your first trip, do so. It’s easy to get disoriented there. Some major transfer hubs involve corridors that stretch several hundred meters, with staircases, escalators, and tunnel passages connecting different line platforms.
Follow color-coded line indicators and terminal station names simultaneously when navigating transfer corridors. Signs repeat both pieces of information at regular intervals along transfer routes. This repetition saves you—if you miss a sign, the next one confirms you’re still heading the right way.
Peak hours mean crowded corridors; plan an extra 5-10 minutes for major transfers during rush periods. Morning and evening commute times—roughly 8:00-9:30 and 17:30-19:30 on weekdays—see the heaviest foot traffic.
The neighborhood map at each exit shows which sortie takes you closest to your destination—check it before climbing stairs.
For a full multi-day plan in Rome, see First-time visitor’s guide to Rome in 4 days.
Planning Your Route: Maps, Apps, and Pre-Trip Preparation
Use the RATP network map or a route-planning app to identify your line and transfer points before going underground. The Paris Metro has many stations and lines, and official maps are available at stations and online.
Screenshot your route on your phone before going underground—trying to read maps in crowded corridors is chaos.
Route planning is especially valuable during busy periods when finding the right platform takes longer. When corridors fill with commuters and signs become harder to see through crowds, having your route already memorized or written down eliminates the need to stop and decipher information under pressure.
Note whether your destination requires Metro only, RER only, or a combination of both systems. For example, accessing the Louvre typically involves Metro Line 1 or 7, making route planning straightforward.
Save offline maps or screenshots in case of limited mobile signal underground. While many Paris Metro stations now have mobile connectivity, signal can be weak or absent in tunnels and on some older lines.
Tickets, Fares, and Keeping Proof of Payment
Inspectors board trains randomly and fine you €50 if you can’t produce your ticket—don’t throw it away. Ticket inspection is enforced on Paris public transport, and you need to keep proof of payment until the end of the journey.
Plain-clothes inspectors board mid-journey and check exits—I’ve seen tourists fined for holding tickets loose. Keep yours in your hand or pocket until you’re above ground.
A central Paris ticket won’t work to Versailles or CDG Airport—you’ll need a zone 1-4 or 1-5 ticket depending on destination. The Metro primarily covers central Paris zones, while RER trips to destinations like airports or Versailles require tickets valid for additional zones.
Insert paper tickets into the turnstile slot with the arrow facing down; if using a card, tap it against the reader until the light turns green.
Keep your ticket in the same pocket so you can hand it over instantly—wasting an inspector’s time is how tourists get fined.
For authoritative guidance on fare policies, Rick Steves’ Paris Metro article includes traveler-focused advice on ticket retention and inspection encounters.
Finding the Right Exit: Using Sortie Signs and Neighborhood Maps
Pick the wrong exit and you’ll surface three blocks away facing the wrong direction—check the map before you climb the stairs. Large stations may have four, six, or even more separate sortie points, each leading to different streets and neighborhoods.
The neighborhood map at each exit shows which sortie takes you closest to your destination—check it before climbing stairs. These maps show street names, landmarks, and which sortie corresponds to each area.
Exits are numbered and sometimes named after nearby streets or landmarks. Signs might read “Sortie 1” or “Sortie Rue de Rivoli,” providing both numerical identification and geographic reference.
Get this right and you’ll know which direction to walk. Get it wrong and you’ll spend five minutes turned around. For instance, when visiting the Eiffel Tower, exiting at the correct sortie can save several minutes of unnecessary walking around the Trocadéro area.
At major transfer stations, sortie signs appear alongside correspondence signs—don’t confuse the two. Correspondence signs direct you to other Metro or RER lines, while sortie signs lead to street exits.
Common Mistakes Visitors Make (and How to Avoid Them)
Most first-time visitors try to navigate using street geography—it doesn’t work underground where platforms branch every direction. Metro and RER navigation is primarily based on line numbers, line colors, and terminal station names, not on memorizing the street grid.
Follow the blue correspondence signs between lines—you don’t exit or validate a new ticket. Stay underground. This misunderstanding causes travelers to unnecessarily exit stations, validate new tickets, and waste time navigating back underground.
Fare inspections do happen, and you need to keep proof of payment until the end of the journey. The entry gate is merely the beginning of your ticket’s validity period, not the end.
Metro is frequent, stops every few blocks, and serves central Paris. RER is sparse, stops in outer zones, and serves airports and Versailles. Expecting Metro frequency and station density on the RER—or vice versa—sets unrealistic expectations.
Not planning transfers in advance at large stations leads to missed connections and frustration. Complex transfer stations like Châtelet-Les Halles or Montparnasse-Bienvenüe require several minutes of walking between platforms. Underestimating this time means rushing, taking wrong turns, or missing trains entirely.
For a full multi-day plan in Paris, see Best things to do in Paris in 3 days: a curated itinerary.
Essential Tips for First-Time Metro and RER Users
Write down or save your origin station, destination station, and the terminal name of the line you need before leaving your hotel. Having this information prepared eliminates the need to research mid-journey when you’re underground and potentially without signal.
At transfers, follow the color-coded line number and the terminal station name together; relying on one alone can send you the wrong way. The color helps you identify the correct platform, while the terminal name ensures you board the train heading in your intended direction.
Allow extra time during peak hours for crowded platforms, longer waits, and navigating busy transfer corridors. Weekday morning and evening rush periods see dramatically increased passenger volumes.
Keep your ticket accessible until you are fully done traveling, not just until the gates open. Establishing a consistent location—front right pocket, pass holder on a lanyard, or a specific section of your bag—means you can produce your ticket within seconds if inspected.
Study the route on a map or app before descending into stations to build confidence and reduce stress. This preparation is particularly valuable when traveling to landmarks like the Arc de Triomphe, where multiple Metro lines intersect and choosing the right one matters.
Study the route on a map or app before descending into stations to build confidence and reduce stress.
For comprehensive guidance on Paris Metro navigation, including platform etiquette and practical examples, Rick Steves’ Metro article offers detailed traveler-focused advice based on years of European transport experience.
Once you stop thinking in compass directions and start thinking in line colors and terminal names, the whole system clicks. Took me two rides; it’ll take you the same.